Day 5: Custom Generators
Typically we try to keep the efforts at 5-10 Minutes. In this exercise we’ll bootstrap the whole setup, so it might take a tiny bit longer. Don’t worry, I’ll guide you step by step.
You’ll find complete implementation for day 5 in the git-repo on the branch “day-5”
https://github.com/dilgerma/eventsourced-quiz
Welcome
Finally we will start to implement our first custom code generator fragments!
You don’t need the Miro Plugin from here. I have prepared an already exported Event Model for our next experiments.
Step 1: Clone the Repository
Clone the Git repository and switch to the cloned folder on your local machine.
git clone https://github.com/dilgerma/eventsourced-quiz
Step 2: Run the Code Generator
Run the code generator directly in the checked out repository.
docker run -ti -p 3001:3000 -v $PWD:/workspace --name codegen --rm nebulit/codegen
(Make sure to pull the latest image before using git pull nebulit/codegen)
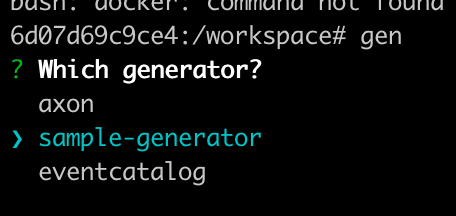
Run “gen” and select “Sample Generator”
Step 3: Install Dependencies
Quickly switch to .generator and run “npm install”

Step 4: Create Event Template
Now open the checked out repository in your Editor (I’d recommend Visual Studio Code or IntelliJ, but any editor will do).
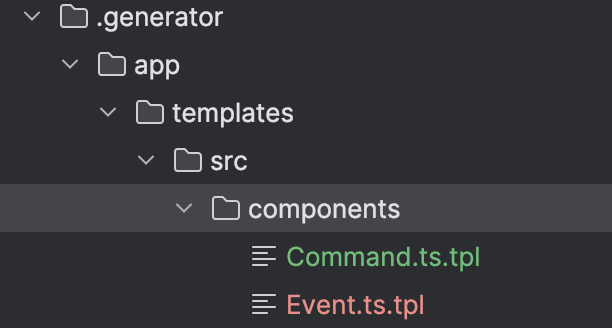
In your IDE / Editor, create a new File Event.ts.tpl in your .generator/templates/components folder.
The “.tpl” Ending is only there to prevent the Editors from trying to be smart. It should not try to interpret the Files as typescript (because of the .ts ending)
We are using EJS for our templates.
Change Event.ts.tpl to this template:
import {Event} from "@event-driven-io/emmett"

export type <%=_name%> = Event<"<%=_name%>",{
 <%-_fields%>
}>
Step 5: Implement Generator Logic
Now in index.js, we will implement the logic to generate some real Events. The “prompting” function generates the prompts. You can ask questions to the developers during the generation cycle to customize the generated code.
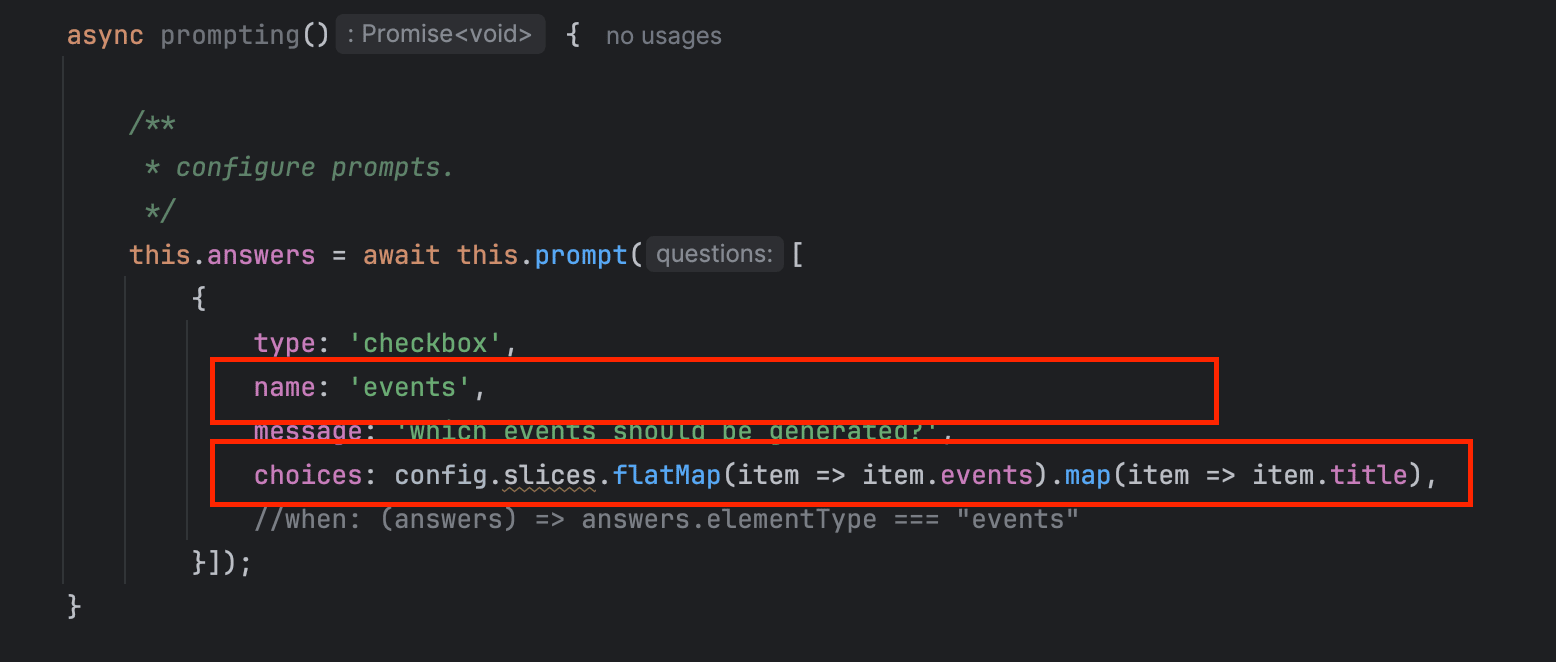
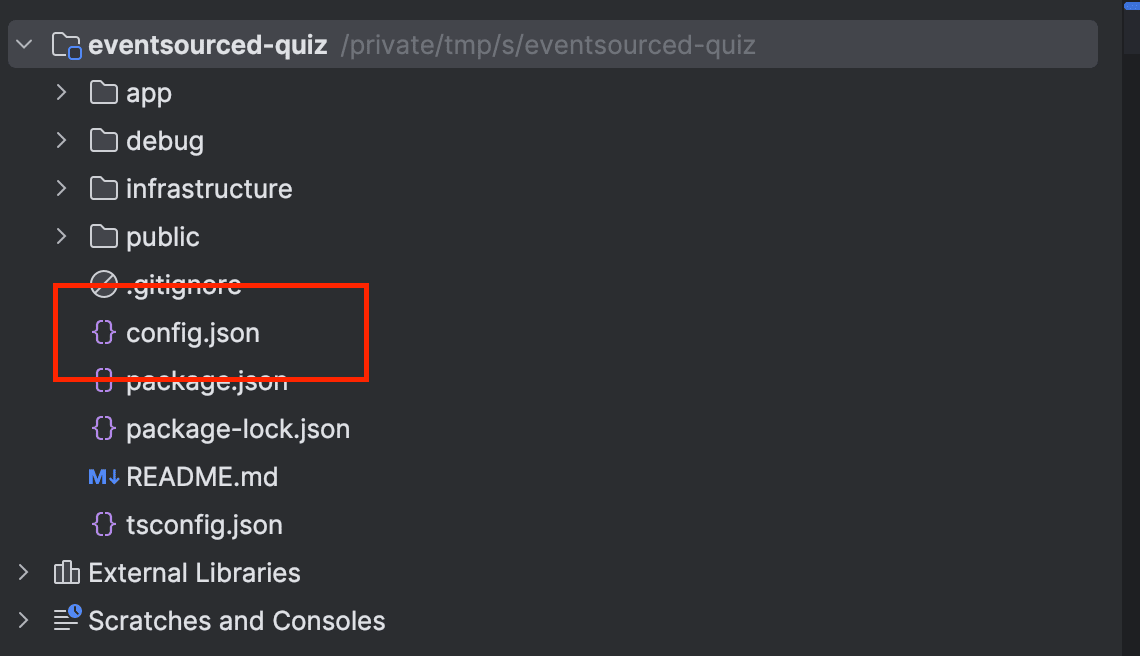
The “name” attribute defines how you can later access the given answers. For the choices, we parse the config.json (via the variable config) and extract all Events or Commands.
The “createsElements” function (you can freely define the name) is called automatically by the Code Generator, since it does not start with “”. You can define “private” functions using an “” at the beginning. These are not called automatically.
First you can access the given answers from the prompts via “this.answers”:
this.answers.events?.forEach((eventTitle) => {})
Make sure to adjust the Pathes, so the generator knows which templates to load and where to write the generated files to.

Step 6: Run Your Custom Generator
Now jump back into the code generator and run gen .generator/app - this will run your local code generator. Select all Events, when it asks what to generate (that’s our prompt)

Just hit enter and it will generate all Events defined in the config.json (which was directly exported from an Event Model)

Homework
Inspect the generated files.
And here is the fun part - you’ll get a homework for tomorrow!
Do the same for Commands.
Commands look very similar to Events:
export type StartQuiz = Command<'StartQuiz', {"attribute" : string}>
Copy the Event.ts.tpl, adjust the template and generate all the Commands.
Make sure to have a detailed look at how the fields are generated in the index.js
Alrights, that’s a wrap for today.
See you tomorrow.
By the way, I’m teaching Eventmodeling and Eventsourcing to Software Teams. If you want to know more about the possibilities, just reply with “Eventmodeling” to this E-Mail and I’ll send you some more information on it.
Tools you need
- Git: https://github.com/dilgerma/eventsourced-quiz
- Accelerate Miro Toolkit: https://miro.com/marketplace/eventmodeling/
- Miro Board: https://miro.com/app/board/uXjVLDkT_FA=/
Things you should consider
If you already want to dive deeper into Eventmodeling and Eventsourcing - here are some links for you.
- Book “Understanding Eventsourcing”
- Companion Online Course - “Implementing Eventsourcing” (includes a full license of the Miro Toolkit)
- Podcast “Eventmodeling & Eventsourcing”
- Eventmodelers.de
- Eventmodeling Tutorial
Learning Eventmodeling faster with your Team - you can book me for Training & Consulting. I’m offering very flexible bookings packages, even on demand. Just answer to this E-Mail if you want to learn more.
| Previous: Day 4 - First Generation | Next: Day 6 - Command Handlers |